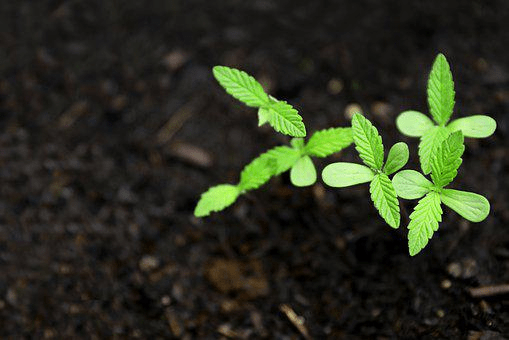
Growing Marijuana can be an immense and rewarding experience, but it’s not something that should be tried by novice or unprepared growers. However, with the right amount of knowledge, time, care, and money, you can grow marijuana for personal or commercial use to earn you some extra income on the side for the rest of your life. So, if you want to grow marijuana like a pro, here is a step-by-step guide to help you muddle through the marijuana growing procedures.
1. Site Selection And Preparation
The first step is to find the right spot. You’ll need a place with plenty of sunlight and good drainage. Once you’ve found the perfect spot, it’s time to start planning your garden. Think about how big you want it to be and what kind of plants you want to grow. To figure out what space you’ll require, measure the distance between plants and multiply it by how many plants you plan on growing.
If you’re going for maximum yield, allow 12 inches of gap between each plant so they can grow as tall as possible. If space is limited or height isn’t an issue, then feel free to decrease this number accordingly. After figuring out your spacing, mark off the area with stakes and string. Next up is preparing the soil. You should mix compost or manure with some native soil to get the perfect balance of nutrients for your crop.
Planting will also require preparation before you put any seeds in the ground. Here are some things you may need to do:
- Soaking seeds overnight before planting them
- Creating a hole deep enough or two times the height of the seeds
- Fertilizing at least three weeks before planting
2. Choosing Your Strain
When it comes to choosing a strain, there are a few things you need to consider. The first is what kind of effect you’re looking for. Are you looking for something that will help relax your mind, give you energy, or help with pain relief? Many strains can offer these effects and more.
You’ll also want to consider the growing conditions in your area. Some strains do better in certain climates than others. For example, if you live in an area where temperatures tend to be warmer during the summer months, a high-yielding Indica may be best for you because they typically show the first sign of the flowering stage quickly and take a short time to mature.you can also learn more about how to grow marijuana from websites like I Love Growing Marijuana.
On the other hand, if you live in an area where winter means short days and cold temperatures, then perhaps low-yielding sativa might be your best bet, as they require short days of light exposure to produce buds. Remember that this doesn’t mean all Sativas have low yields, and all Indicas have high yields; keep in mind which plants would thrive better under your unique environment.
3. Germination, Vegetative Growth, And Flowering
· Germination
The first step in growing marijuana is germination. This is when the seed becomes a plant. You can do this by planting the seed in the soil or using a hydroponic system. Seeds can take up to a week before bursting into a new plant. It is good to check your soil’s moisture content and temperatures at this stage. Ideal temperatures at this stage should be between 70- and 80 degrees Fahrenheit.
· Vegetative Growth
Once the plant has germinated, it will enter the vegetative stage. The plant grows leaves and develops a root system. The vegetative stage can last for weeks or months, depending on the type of marijuana you are growing. Some plants need more light exposure than others. Marijuana plants require about 18 hours of light per day during the vegetative stage.

If you’re unsure how much light your plants need, experiment with different amounts until they start flowering. To make your plants stay in the vegetative stage for as long as possible, lower their nighttime temperature to 50 degrees Fahrenheit and their daytime temperature up to 80 degrees Fahrenheit.
Add fertilizers regularly and avoid over-watering. Once the plants have grown four leaves (about eight weeks), they should be ready to flower. To induce the flowering process, use a 12/12 photoperiod schedule -light 12 hours per day, dark 12 hours per night.
· Flowering

The final phase is called the flowering stage, where buds are formed from many tiny clusters of immature female flowers called calyxes. Indoor growers usually harvest between 10-14 weeks after switching to the 12/12 lighting schedule. Outdoor growers generally harvest after 8-10 weeks but may wait up to 16 weeks if weather permits.
4. Harvesting And Trimming
Now that your plants are grown and flowering, it’s time to harvest. This is when you finally reap the rewards of all your hard work. But the job isn’t entirely done yet. Once you’ve gathered your buds, they’ll need to be trimmed to help remove the excess leaves and prepare the buds for smoking.

To trim your buds, use scissors or razor blades to cut off the leafy parts around the outside of the bud. Be careful not to damage or cut through any bud part; otherwise, there will be little or no THC left on it.
Parting Shot
Marijuana has become one of the fastest-growing industries in the world, thanks to its medicinal and recreational values. This exciting time in marijuana history means that if you know how to grow it like a pro, there is probably a lot of money to make. So take the opportunity and reap the benefits of selling marijuana.


